
Mood Boards Make Nonprofit Videos Easy 💡
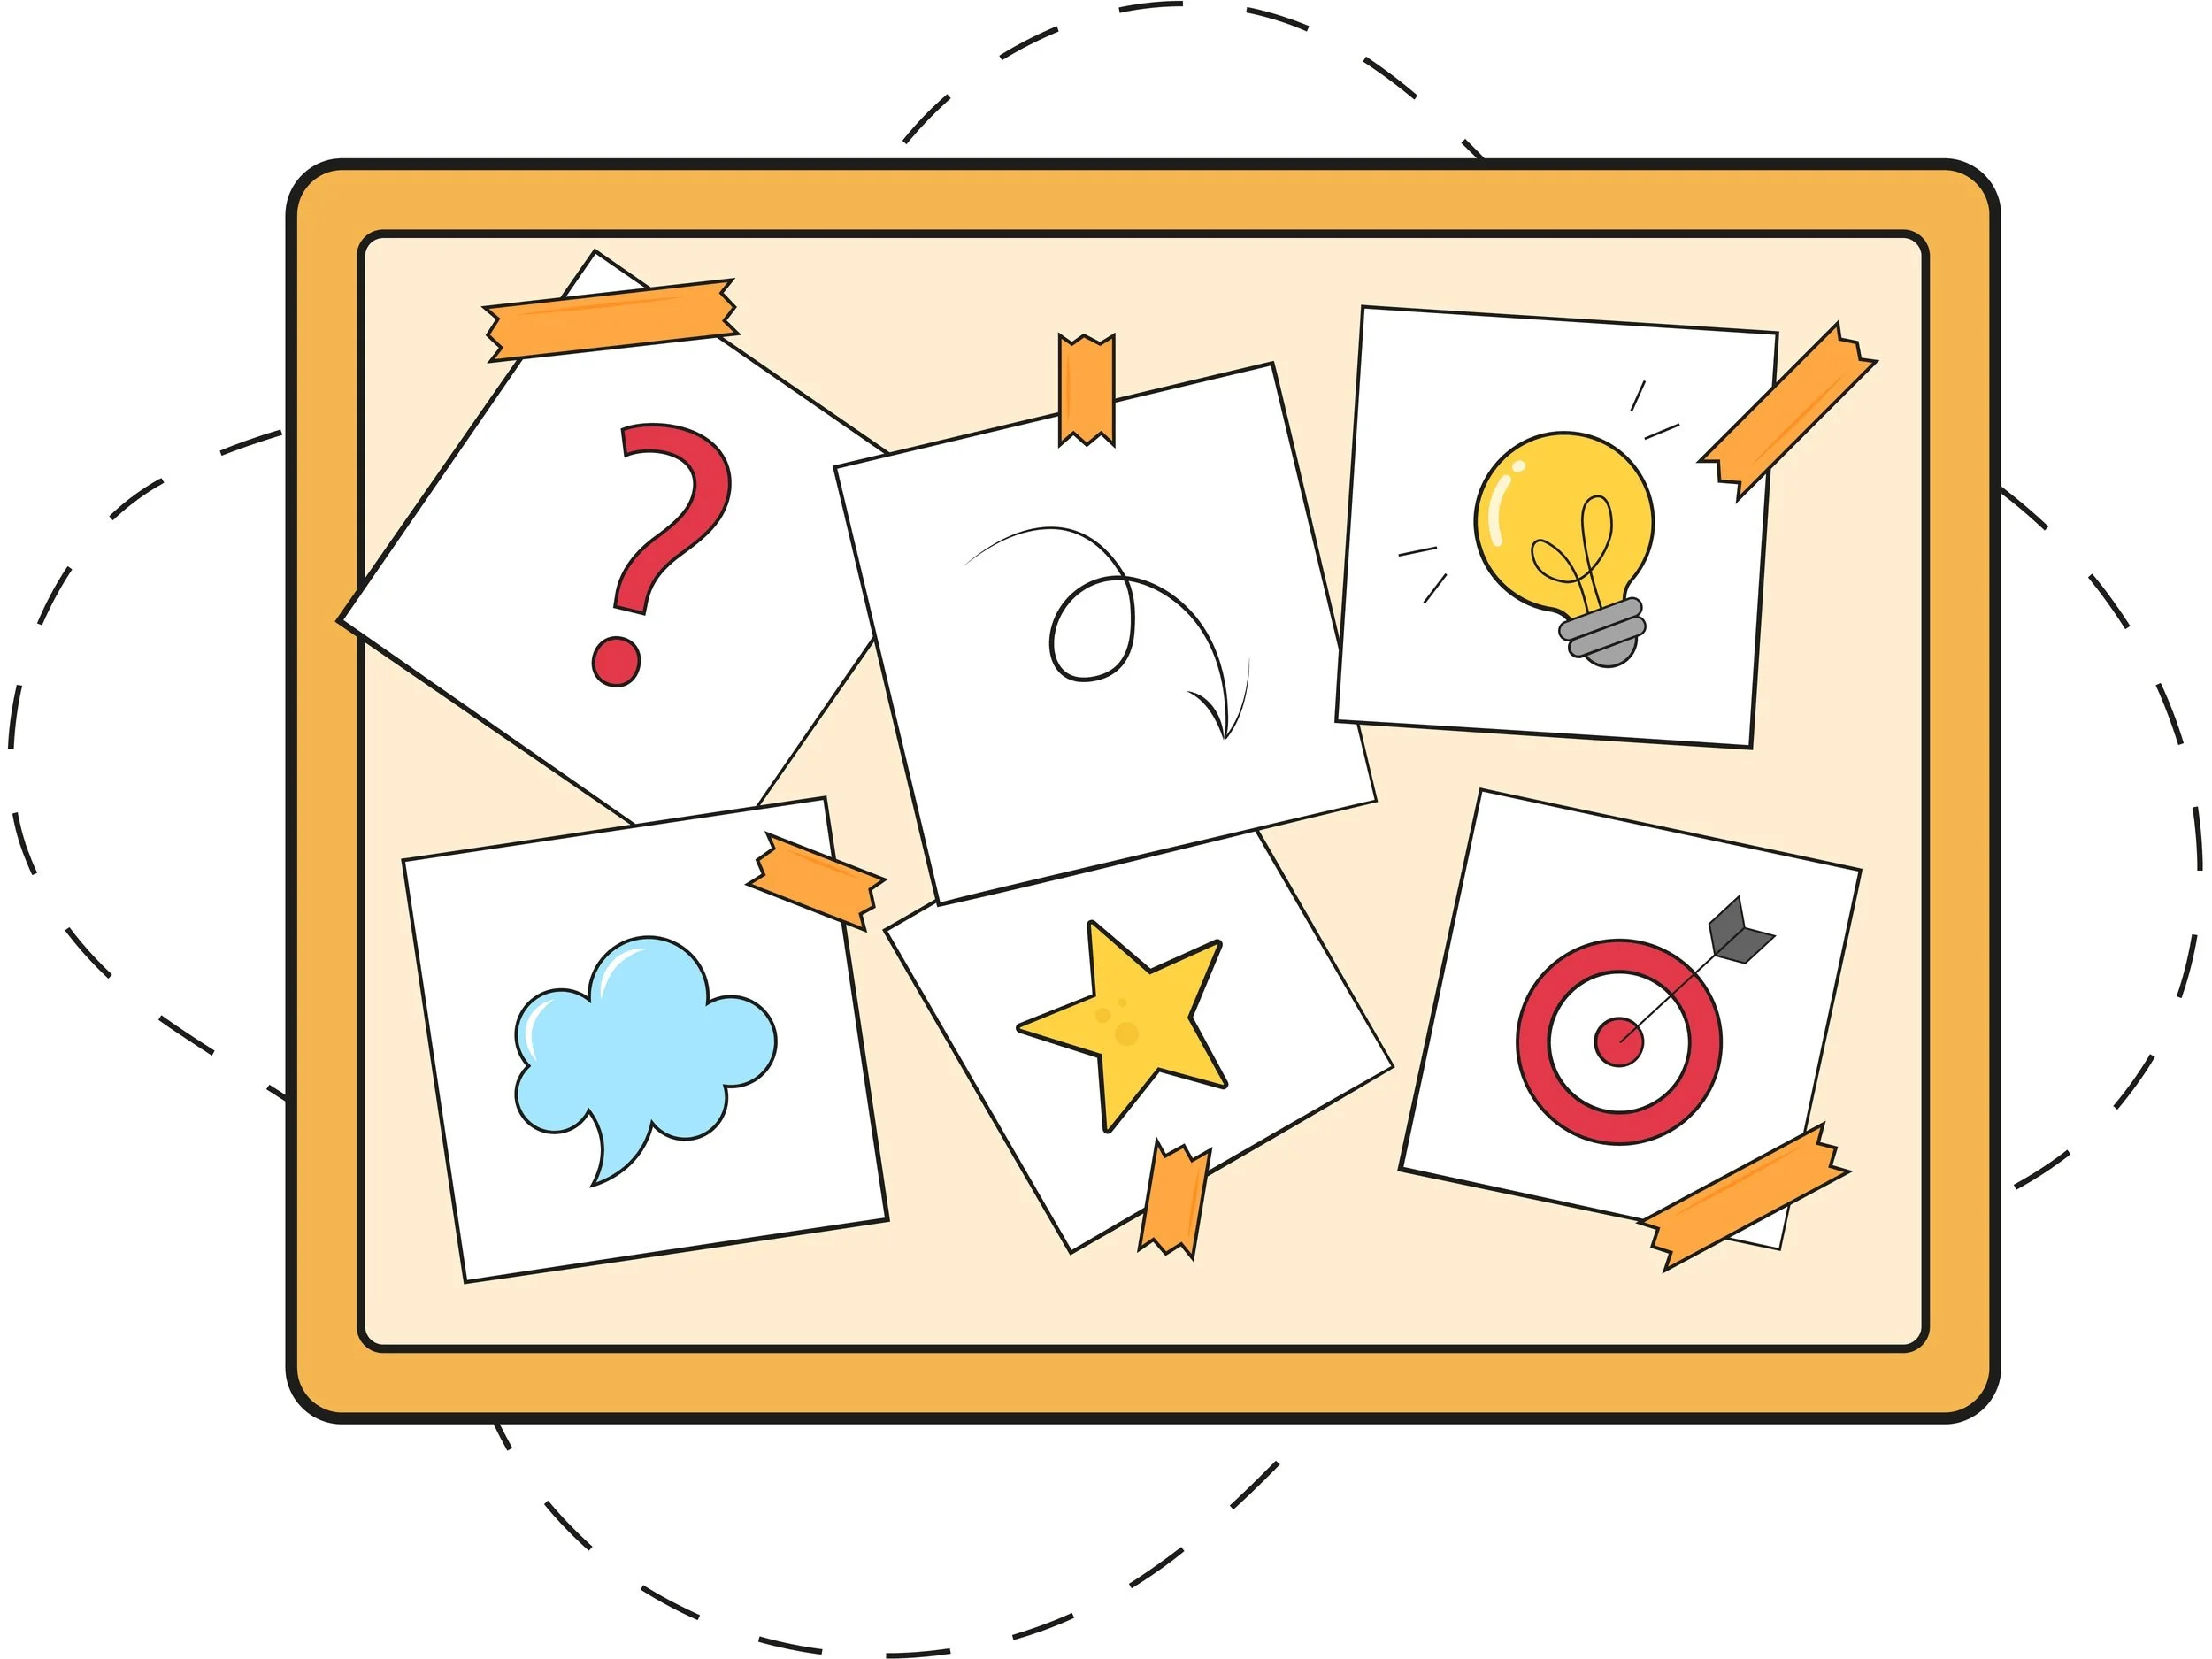
Creating effective mood boards for nonprofit explainer videos can be daunting. But it doesn't have to be! Crafting a mood board for a nonprofit video is relatively easy with the right steps.
For instance, start by writing a script and lines on Milanote or Miro with plenty of white space.
You can also create physical boards and use Post-Its. Add images from Google or stock libraries that are creative and emphasize playful brainstorming. Then use client feedback to guide you in the right direction and revise as necessary.
Finally, make style frames from the chosen images to streamline the entire explainer video process.
Why Mood Boarding is Essential for Nonprofit Videos 💡

Mood boarding is an essential step in creating successful explainer videos, particularly for 2D animated explainer videos.
By creating mood boards, you ensure that both you and your client are on the same page visually, right from the start of the production process.
These boards act as a playful brainstorming session, where you can experiment with a wide range of images and styles.
While the final images chosen will be more refined, this stage allows for creativity and exploration.

Getting Started: Adding Your Script to Milanote/Miro
Once you've written your script for your nonprofit explainer video, it's time to bring your ideas to life by creating a mood board. But before diving into the visual stage, it's crucial to have your script and lines finalized and agreed upon. This is an important step because once you move into the animation post-production stage, making changes to the text can be laborious and costly.
Use a digital whiteboard like Milanote or Miro to organize your script and lines to get started. Create a separate space for each line of your script and surround it with image ideas that align with the text. This will allow you to evaluate which images work best for each line visually.

When sourcing images, don't worry about finding ones that are in the same style or perfectly align with your nonprofit's branding just yet. This stage is all about playful brainstorming and exploring different visual ideas. By surrounding each line with a variety of image options, you'll have a better sense of what visuals resonate with your script.

The goal of this stage is to gather inspiration and establish a direction for your video. So have fun with it! Don't be afraid to mix and match different images, styles, and aesthetics. This is the time to explore and experiment before moving forward with a more refined mood board.
Remember, mood boarding is all about breaking down the process into smaller, more manageable steps. By starting with your script and lines, you'll have a solid foundation to build upon as you progress through the visual stage of creating your nonprofit explainer video.
So grab your digital whiteboard and let the brainstorming begin!
Adding Images: Using Google and Stock Photos to Create Your Mood Board

Once you have your script and lines in place for your nonprofit explainer video, it's time to bring your ideas to life by adding images to your mood board.
A great way to find images is by using Google and stock photo libraries like Freepik, Shutterstock and Envato Elements.
When searching for images, be creative and think outside the box. Look for visuals that align with your script and evoke the emotions you want to convey.
Don't worry about finding images that perfectly match your nonprofit's branding at this stage. The goal is to explore different visual ideas and gather inspiration. So let your imagination run wild and have fun with the process!
Emphasizing Creativity: Encouraging a Playful Brainstorming Process

When it comes to creating mood boards for nonprofit explainer videos, it's important to embrace your creativity and encourage a playful brainstorming process.
Don't be afraid to think outside the box and explore different ideas and visual concepts. Remember, mood boards are a platform for experimentation and imagination.
Let your ideas flow freely and mix and match different images, styles, and aesthetics. By embracing a playful mindset, you'll be able to unlock your creativity and create impactful 2D explainer animations that captivate and inspire your audience. So, let your imagination soar and have fun with the brainstorming process!
How to Use Feedback to Revise Your Mood Board

When it comes to creating nonprofit explainer videos, client feedback is invaluable. Your clients know their organization and its message better than anyone else, so it's important to take their input into account when revising your mood board.
After presenting your initial mood board to your client, be open and receptive to their feedback. Remember, their suggestions and insights can help you refine your vision and create a final product that truly resonates with their target audience.
Start by carefully listening to their comments and addressing any concerns they may have. Take notes and ask clarifying questions to ensure that you fully understand their perspective. This will show your clients that you value their input and are committed to delivering a video that meets their expectations.

Next, use their feedback as a guide to make revisions to your mood board. Consider their suggestions for color schemes, imagery, and overall style. Remember, the goal is to create a visual representation that accurately reflects their organization's mission and values.
Once you have incorporated the client's feedback into your mood board, present the revised version to them for further review. This iterative process allows you to fine-tune your vision and ensure that the final product aligns with their expectations.
By taking client feedback into account and using it to revise your mood board, you can create nonprofit explainer videos that truly resonate with your audience and achieve your client's goals. So embrace their input and let it guide you in creating captivating 2D video animations that leave a lasting impression.
Adding Color & Design Guides to a Mood Board
Now it's time to take your mood board to the next level by enhancing its visual appeal. Incorporating color and design guides into your mood board can elevate the overall aesthetic and make it more visually appealing to your audience.
Consider the emotions and message you want to convey with your nonprofit explainer video. Choose colors that align with your organization's branding and evoke the desired emotions. Use design elements such as fonts, shapes, and visual effects to create a cohesive and visually appealing look.
Think of your mood board as a visual story, where each color and design choice contributes to the overall narrative. By carefully selecting and incorporating these elements into your mood board, you can create a visually stunning representation of your nonprofit explainer video that captivates your audience. So go ahead and experiment with different colors and designs to make your mood board truly shine!
Creating Style Frames from Your Chosen Images

After you've brainstormed and added images to your mood board and received feedback from stakeholders, it's time for the final touches: creating style frames.
Style frames are illustrations or graphics that represent the overall look and feel of your video. They help ensure consistency and coherence throughout the animation. While we won't go into depth about style frames here, just remember that they are the next step after creating your mood board.
So, take the ideas and feedback from your mood board and start crafting visually stunning style frames that bring your nonprofit explainer video to life!
Streamlining the Nonprofit Video Process with Mood Boards
Creating a nonprofit explainer video can be a complex process, but with the help of mood boards, you can streamline the entire process and make it more manageable. Mood boards serve as a visual roadmap, helping you to gather inspiration and establish the overall look and feel of your video. By organizing your ideas and collaborating with your team through mood boards, you can ensure that your video stays on track and effectively conveys your message.
One of the key benefits of using mood boards is that they allow you to break down the production process into smaller, more manageable steps. By creating style frames from your chosen images, you can refine your visual narrative and ensure consistency throughout the video. This not only saves time but also helps you maintain a cohesive visual style.
Mood boards also provide a clear vision for your client, allowing them to provide feedback and guide the revision process. By incorporating their input into your mood board, you can create a final product that meets their expectations and effectively communicates their message.
So, don't underestimate the power of mood boarding. Embrace it as a vital tool in creating impactful nonprofit explainer videos and watch as your message resonates with your audience and leaves a lasting impression.
